- Home
- Products
- News
- About Us
- Support center
- Contact Us
inquiry
Leave Your Message
Hey there! If you're into surface mount technology (SMT), you probably already know that getting the soldering part just right is kind of a big deal — whether you're a hobbyist messing around at home or a pro doing it for a living. Building your own Diy Reflow Oven? Honestly, it can be a total game-changer. It gives you the chance to get those solder joints just perfect, all from the comfort of your own workspace. Here at Morel Equipments Co., Limited, we've got over 15 years of hands-on experience in the SMT world, so we know our stuff — everything from pick-and-place machines to fully automatic soldering robots. In this ultimate guide, I’ll walk you through how to put together a DIY Reflow Oven that actually works well. This way, you can get the kind of precision and efficiency needed to do top-notch soldering. Whether you're just starting out or you've been around the block a few times, this guide will help boost your soldering skills and make your electronic projects a whole lot smoother.
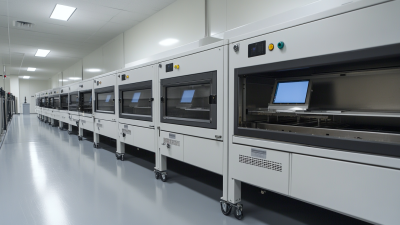
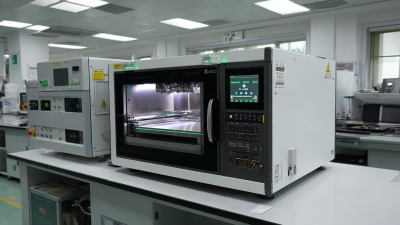
Getting a handle on how reflow ovens work is pretty important if you're into soldering, especially in electronics manufacturing. These ovens are actually a cornerstone in the whole process, mainly when it comes to surface mount technology (SMT). Basically, they use just the right amount of heat to melt solder paste that's been applied to circuit boards, so components can be securely attached without the risk of burning or damaging anything. When you understand how these ovens operate, you can really tweak your soldering techniques — which means better connections and more reliable gadgets in the end.
One thing to keep in mind is that the temperature profile of a reflow oven makes all the difference. This includes how quickly it heats up, the soak times, and how it cools down—each step needs to be carefully controlled to make sure the solder flows properly and bonds tightly. Knowing these details can help you avoid common problems like cold joints or solder bridges, which happen if the heat isn’t just right. If you’re into DIY stuff, building your own reflow oven can be a great way to get hands-on experience with these principles. Plus, it’s pretty satisfying to be able to produce solid solder joints right in your own workshop!
| Feature | Description | Importance in Soldering |
|---|---|---|
| Temperature Control | Precise control of heating elements for accurate solder melting. | Ensures consistent solder joints and prevents damage to components. |
| Heating Method | Infrared heaters or hot air methods used to raise component temperatures. | Facilitates uniform heating across the PCB for effective solder flow. |
| Size and Capacity | Dimensions of the oven affect how many boards can be soldered at once. | Increases efficiency by allowing multi-board processing. |
| Thermal Profiling | Ability to set temperature ramps and dwell times. | Critical for achieving optimal solder paste activation and joint quality. |
| Safety Features | Includes automatic shut-off and over-temperature protection. | Protects users and equipment from hazards associated with high temperatures. |
Revolutionizing your cooking experience is no small feat, but with the Dual Lane Wave Oven XMS-350, a kitchen transformation is just around the corner. This innovative appliance takes energy efficiency to the next level, focusing on sustainability without compromising performance. The dual lane design not only saves valuable electricity—consuming 90% less energy compared to traditional cooking methods—but also enhances cooking efficiency with temperature mutual compensation. This feature ensures consistent results while minimizing energy wastage, allowing you to enjoy delicious meals guilt-free.
Space constraints can often hamper culinary creativity, but the XMS-350 addresses this issue beautifully. Traditional Wave Soldering machines typically occupy around 186.9 square meters, which can be a significant drawback in compact kitchens. However, this advanced solution requires only 65.45 square meters, effectively freeing up 121.45 square meters of space. By integrating this appliance into your kitchen, you can maximize your cooking area, paving the way for a more organized and enjoyable cooking environment. The Dual Lane Wave Oven XMS-350 is not just a purchase; it's an investment in a more efficient, sustainable, and spacious cooking experience.
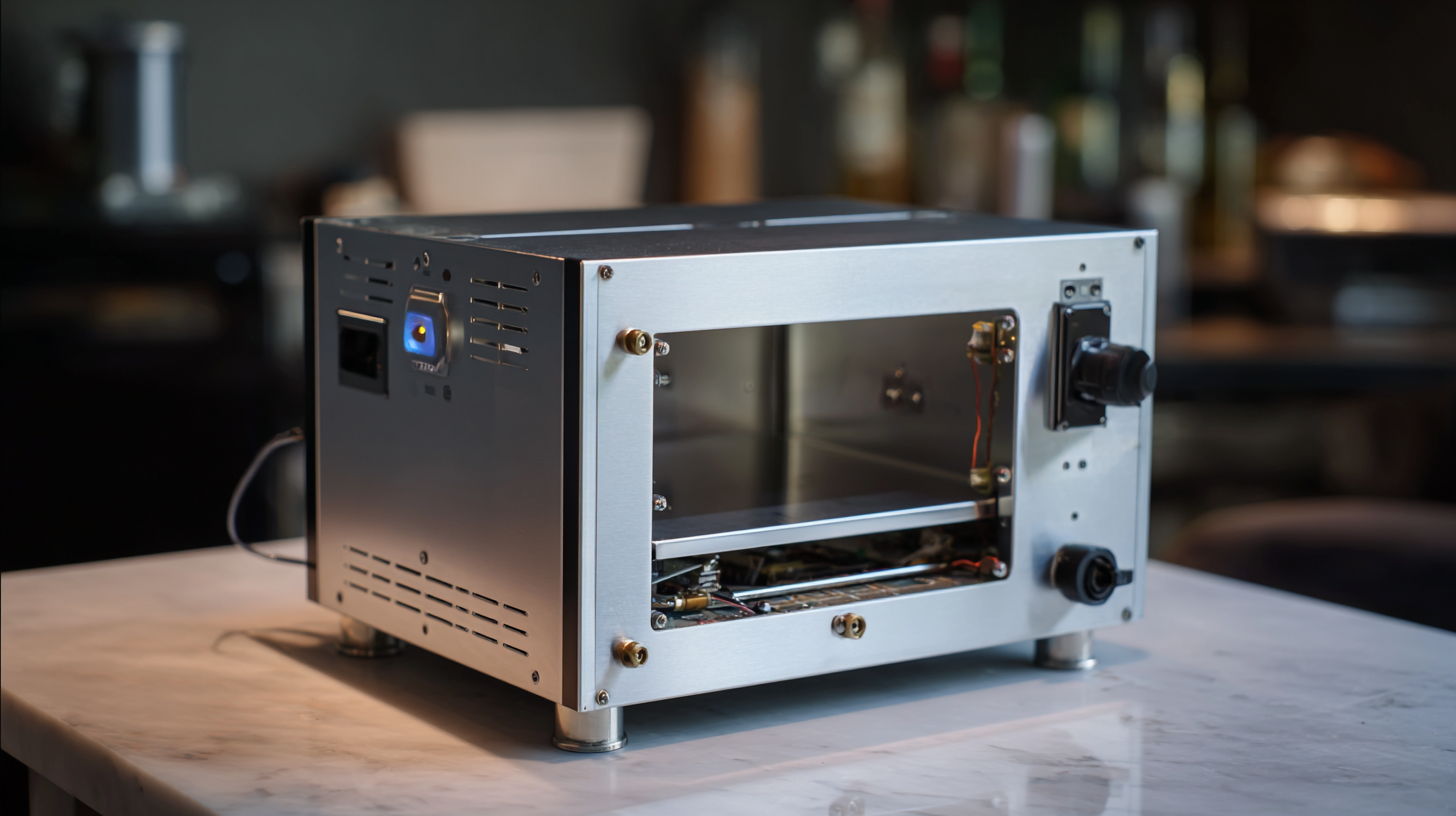
: You will need a standard toaster oven, aluminum foil for heat reflection, a PID controller for temperature management, and a digital thermometer or thermocouple for accurate temperature readings.
To ensure precise temperature control, calibrate the oven using an accurate thermocouple placed in the center of the oven and adjust settings to match the ideal heating curve for your solder paste.
Calibration is crucial to achieve optimal temperature control and efficiency, helping to avoid common issues such as insufficient solder joints or overheating components during the soldering process.
Ensure your workspace is well-ventilated, wear protective gear like safety goggles and gloves, keep a fire extinguisher nearby, and avoid placing flammable materials around the oven.
Regularly monitor the temperature using a reliable thermometer or thermocouple and make adjustments based on the response of the components during test batches of printed circuit boards (PCBs).
The ideal heating curve typically includes a preheat phase, a soak phase, and a reflow phase, which are essential for achieving the best soldering results.
Keeping detailed records of your adjustments and the temperatures achieved helps create a solid foundation for repeatable results in future soldering projects.
Yes, a well-constructed DIY reflow oven can be an excellent tool for both hobbyist projects and small-scale production runs, offering professional-quality soldering at a lower cost.
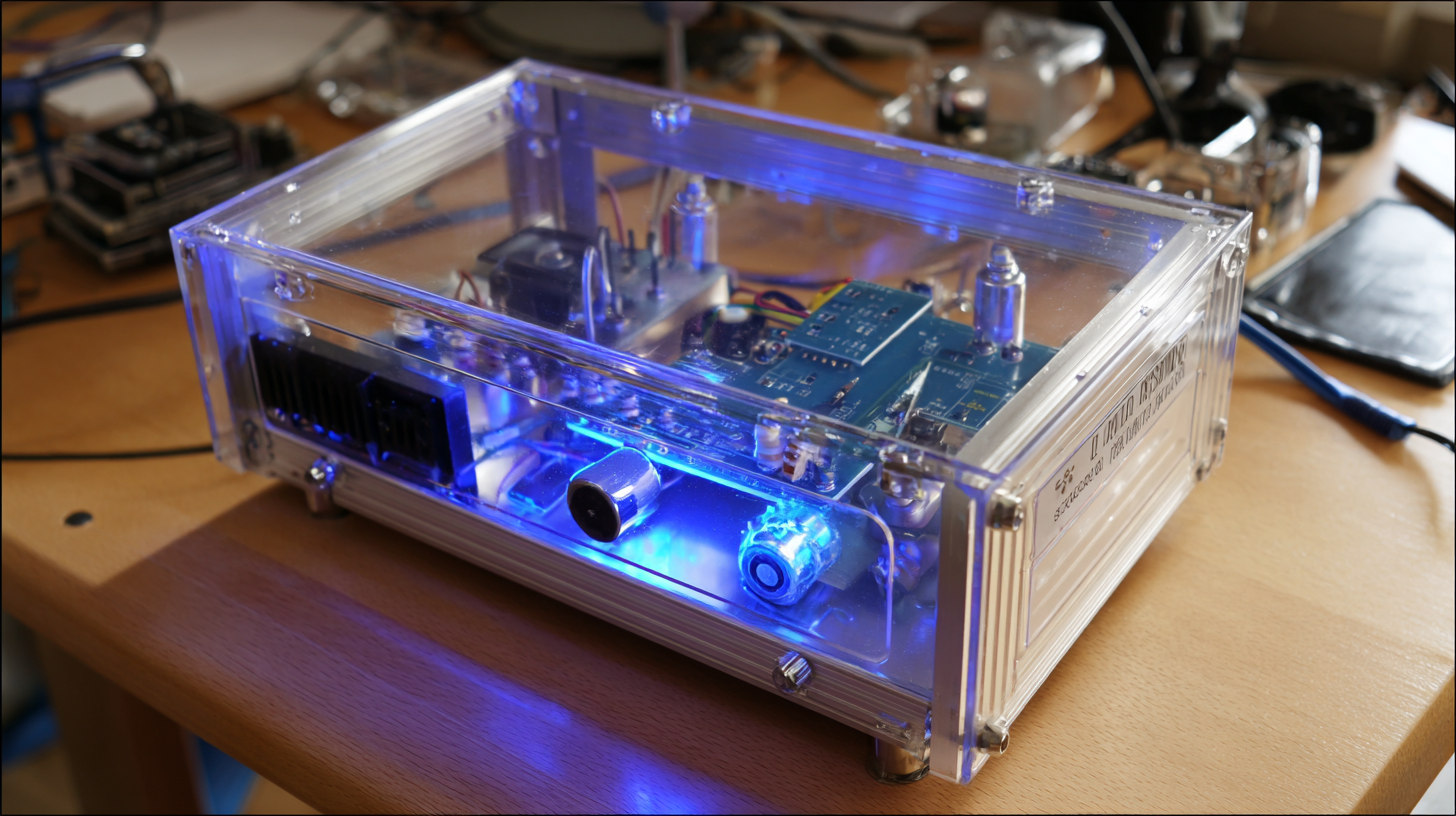
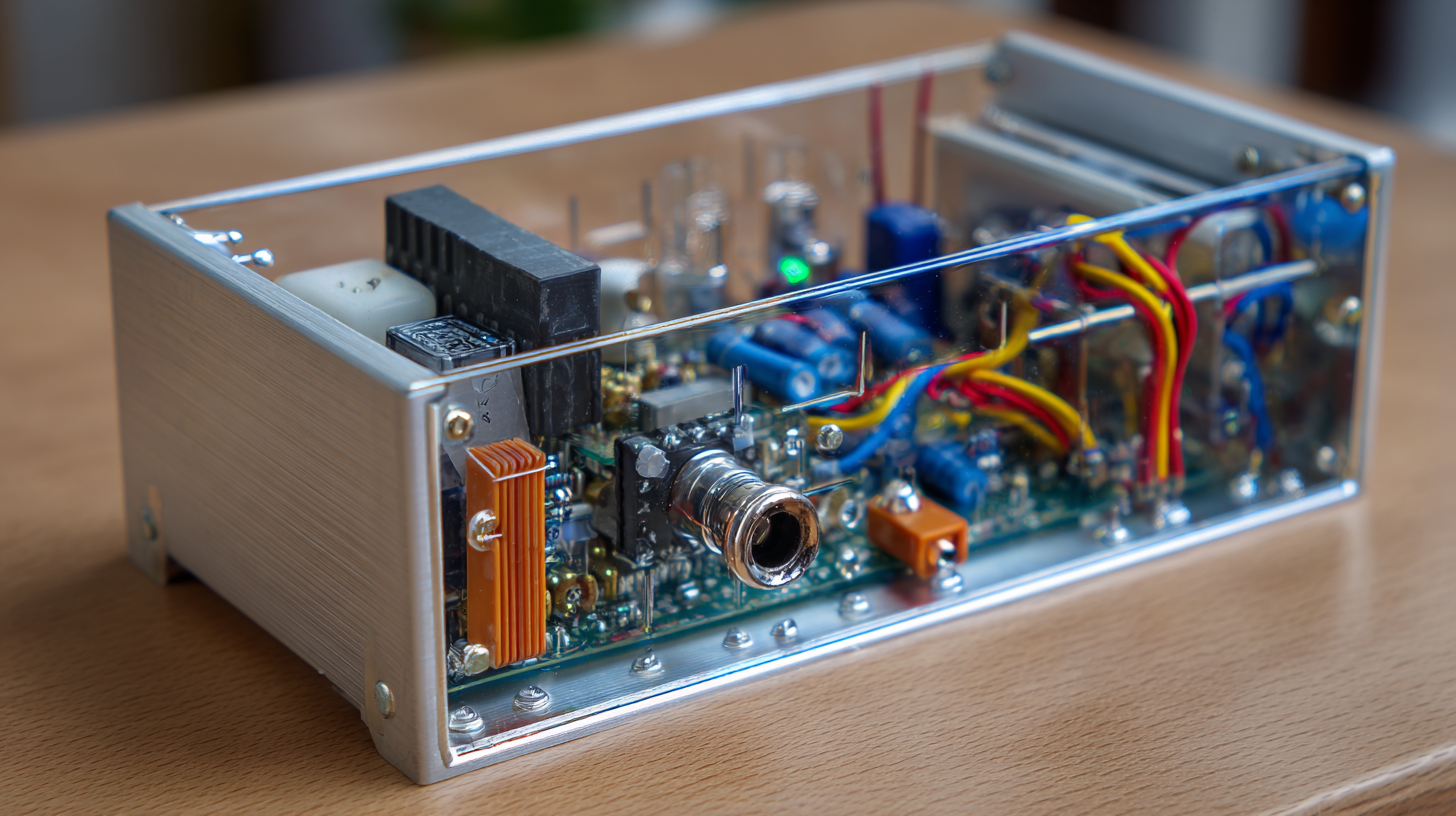
Thinking about building your own DIY reflow oven at home? It’s actually a pretty satisfying project, especially if you’re into honing your soldering skills. To kick things off, I’ll give you a quick rundown of what reflow ovens are all about — they play a key role in surface mount technology (SMT). We’ll talk about the basic tools and materials you'll need, and I’ll walk you through a simple, step-by-step guide on how to put together your own reflow oven using stuff you probably already have lying around the house. Oh, and I won’t forget to cover important calibration tips to help you keep the temperature just right, plus some safety advice to make sure you’re using your homemade setup safely and effectively.
With over 15 years of hands-on experience in the SMT industry, Morel Equipments Co., Limited really gets the challenges folks face with soldering. Whether you’re just a hobbyist or a seasoned pro, this DIY route gives you the chance to get great soldering results while also leveling up your skills in surface mount tech. Trust me, it’s definitely worth the effort!