- Home
- Products
- News
- About Us
- Support center
- Contact Us
inquiry
Leave Your Message
You know, when it comes to surface mount technology (or SMT for short), everyone’s on the lookout for better, more efficient ways to do soldering. It’s no secret that the industry is booming—some reports say the global SMT market could hit around $50 billion by 2025! That’s pretty wild, right? For both hobbyists and pros, trying to get those tiny solder joints just right can be a real challenge.
That’s where the idea of building your own Diy Reflow Oven comes into play—it’s such a smart, budget-friendly solution. Not only does it give you full control over how you do your soldering, but you can also tweak it to perfectly fit your specific projects. Here at Morel Equipments Co., Limited, we’re proud to bring over 15 years of experience in the SMT world.
We’ve gone from just providing accessories to offering a full lineup of solutions—like pick-and-place machines and automatic soldering robots—so whether you’re just starting out or a seasoned pro, we’re here to help you nail those perfect solder joints every time.
You know, a reflow oven is pretty much a must-have when it comes to soldering, especially in surface mount tech (SMT). It’s the tool that gives you that precise control over temperature profiles, making sure those solder joints on your PCB are solid and reliable. Recent studies have shown that fine-tuning the thermal settings can really boost the quality of those solder connections. Typically, during standard soldering, peak temperatures hit somewhere between 200°C and 250°C. Oh, and here’s something cool—AI is starting to get involved in studying these reflow processes, which is helping to sharpen those thermal profiles even more for better efficiency and results.
Over at IIT Madras, they’re kicking off a new initiative to give engineering and science students a solid grounding in electronics—stuff that’s super important for understanding how reflow soldering works. The program lasts about 11 days and focuses on hands-on training directly relevant to the semiconductor industry. Basically, it’s prepping students for careers where reflow ovens are a go-to tool. Oh, and companies like Morel Equipments Co., Limited are really paying attention to what’s needed—they’ve shifted from just selling simple accessories to offering full-on solutions, including advanced automatic soldering robots and testing gear. With the SMT industry booming, it’s clear that knowing your way around tools like DIY reflow ovens isn’t just for professionals anymore—hobbyists can get in on the action too, achieving pretty amazing soldering precision at home or in the shop.
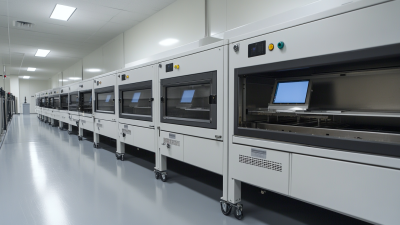
The Dual Lane Wave Oven XMS-350 is setting a new standard in cooking technology with its innovative design and energy-efficient features. This revolutionary appliance not only enhances the cooking experience but also contributes to a more sustainable kitchen environment. By utilizing cutting-edge Wave Soldering techniques, the XMS-350 ensures a steady and efficient operation, significantly reducing energy consumption by an impressive 10% compared to other similar devices. This means that not only are you investing in superior cooking capabilities, but you are also making a responsible choice for the planet.
One of the standout features of the Dual Lane Wave Oven is its space-saving design. Traditional wave soldering machines require extensive setups, taking up around 186.9 square meters of valuable kitchen space. In contrast, the XMS-350's compact structure demands only 65.45 square meters, saving a remarkable 121.45 square meters. This efficient use of space allows for more flexibility in kitchen layouts, making it an ideal choice for those with limited cooking areas. With the XMS-350, users can enjoy an unparalleled cooking experience without compromising on efficiency or space.
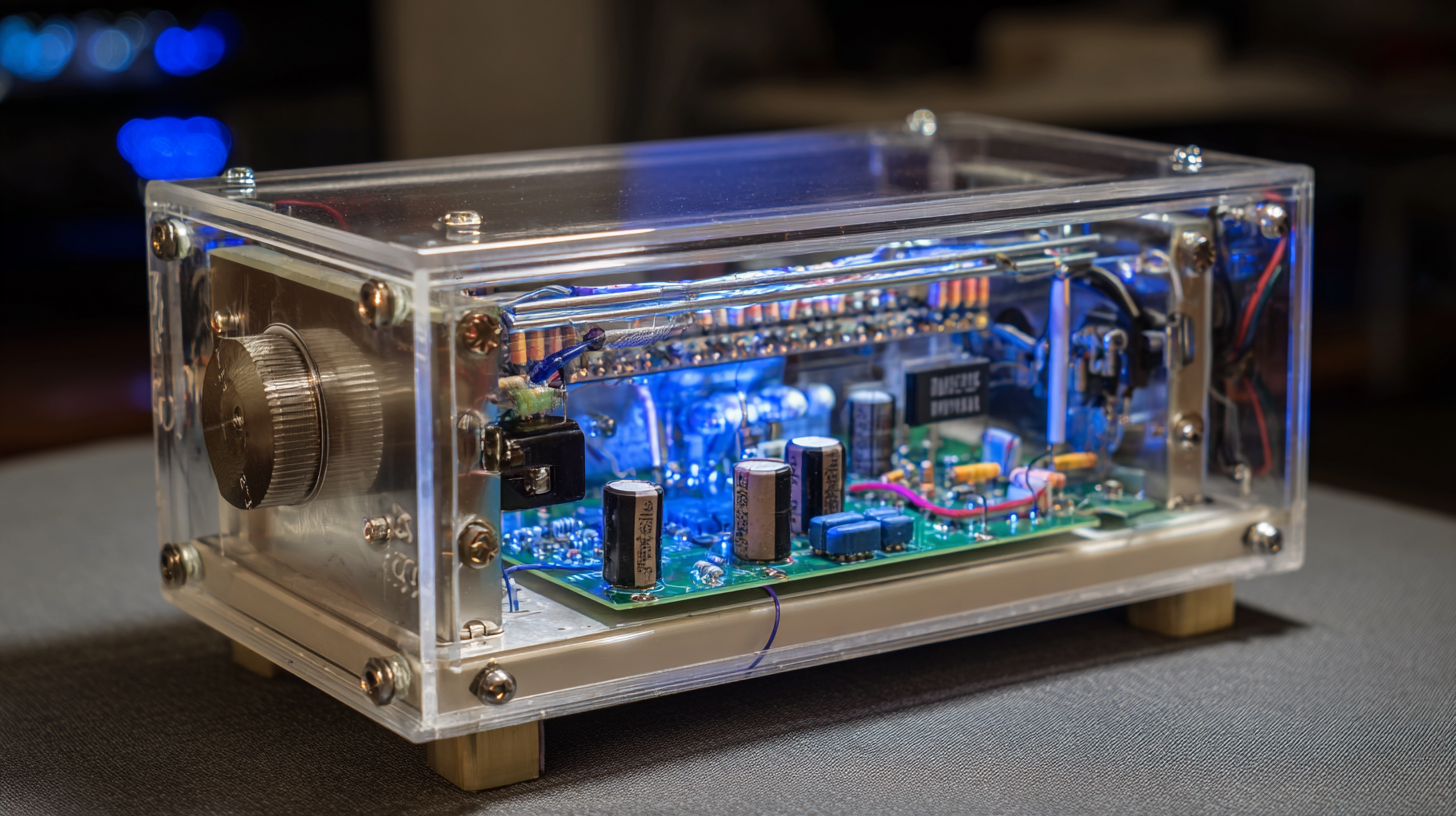
: You'll need a toaster oven with convection features, a temperature controller or PID controller, a thermocouple for temperature measurement, heat-resistant materials like aluminum foil or high-temperature tape, and tools such as a soldering iron, wire strippers, a screwdriver set, and a multimeter.
The oven should be able to reach temperatures around 250°C (482°F) for effective reflow soldering.
The reflow soldering process consists of four main phases: preheating, soaking, reflow, and cooling, each requiring precise temperature control.
Recent advancements utilizing AI have been shown to analyze thermal conditions effectively, improving solder joint quality and minimizing defects by optimizing temperature profiles.
The ideal peak temperature during the reflow phase typically ranges between 230°C and 250°C, depending on the solder paste used.
Testing is crucial because approximately 30% of electronic assembly defects arise from improper soldering techniques. Proper testing ensures that the oven operates correctly and that temperature profiles are calibrated.
Common issues include inconsistent heat distribution and insufficient peak temperatures, which can affect the soldering process and lead to defects.
If the oven cannot consistently reach the required temperatures, it may be necessary to adjust the heating elements or modify the thermal profiles to ensure effective soldering.
Regular maintenance and calibration, along with testing temperature profiles, are key to ensuring reliable solder joints and reducing defects that increase costs and rework time.
Accurate thermal management improves the quality of solder joints and reduces the likelihood of defects such as tombstone and cold solder joints, ultimately enhancing the overall crafting experience and output quality in electronics assembly.
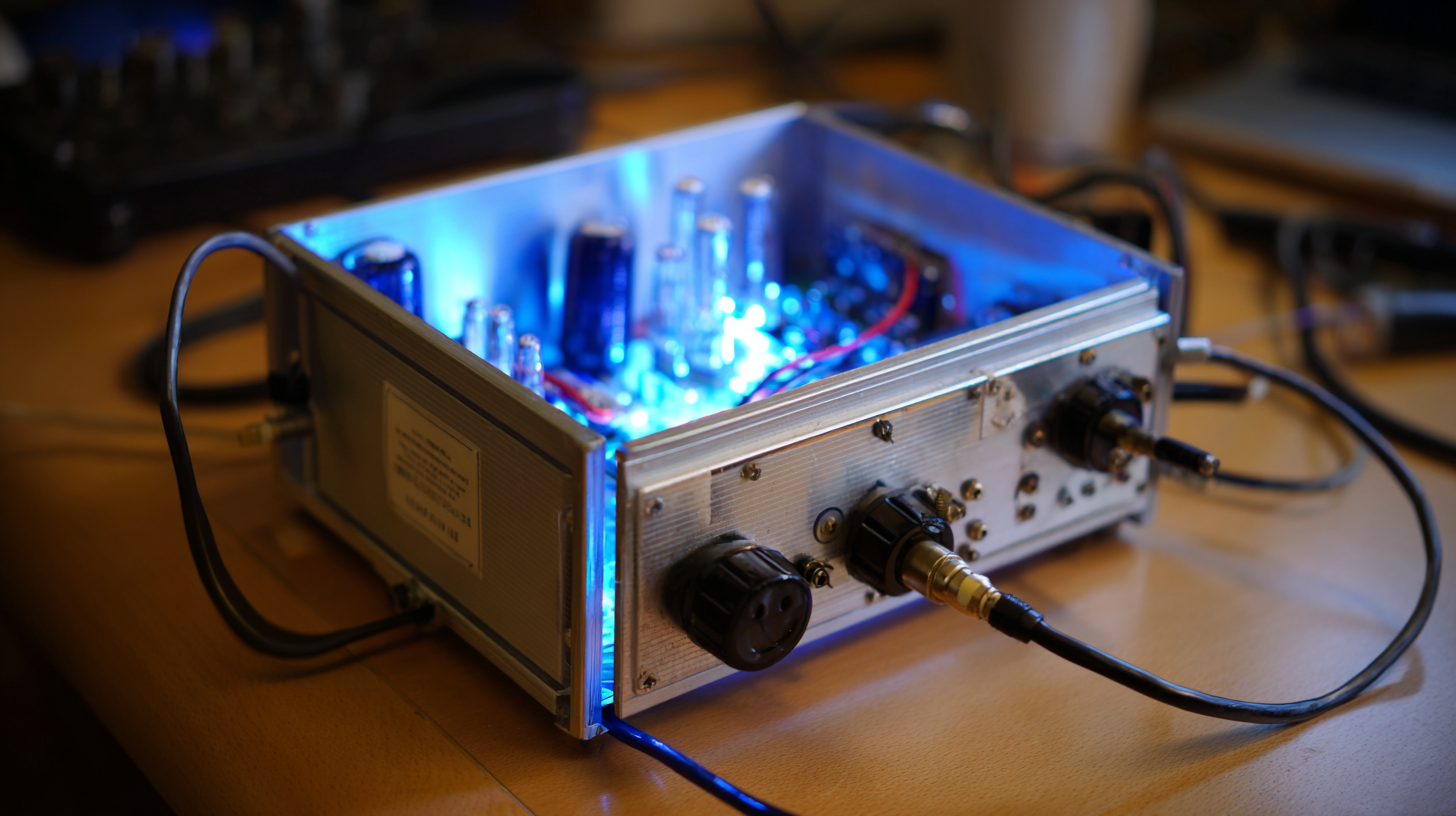
Building your own DIY reflow oven can really boost your soldering precision and make things way more efficient. Once you get a hang of the basic principles behind reflow ovens, you'll see just how important they are for getting solid, high-quality solder joints. When you're putting together your own reflow oven, you'll need some just-essential materials and tools—don’t worry, we’ve got a detailed step-by-step guide to walk you through everything. Plus, fine-tuning the right temperature profile is super important; it’s the difference between perfect solder joints and, well, ruined ones. You want to heat everything just right so no components get damaged, but still solder properly.
At Morel Equipments Co., Limited, we’ve got over 15 years of hands-on experience in surface mount tech. That means we’re all about offering a full range of solutions, including some pretty advanced automatic soldering machines. Once you’ve assembled your DIY reflow oven, don’t forget to do some thorough testing and troubleshooting—that’s how you’ll really get the most out of it. Trust me, it’s a game-changer for your SMT workflow. So go ahead, take on this DIY project—it’s a great way to level up your soldering skills and get those joints just right!